

 Login / Register
  CATEGORIES
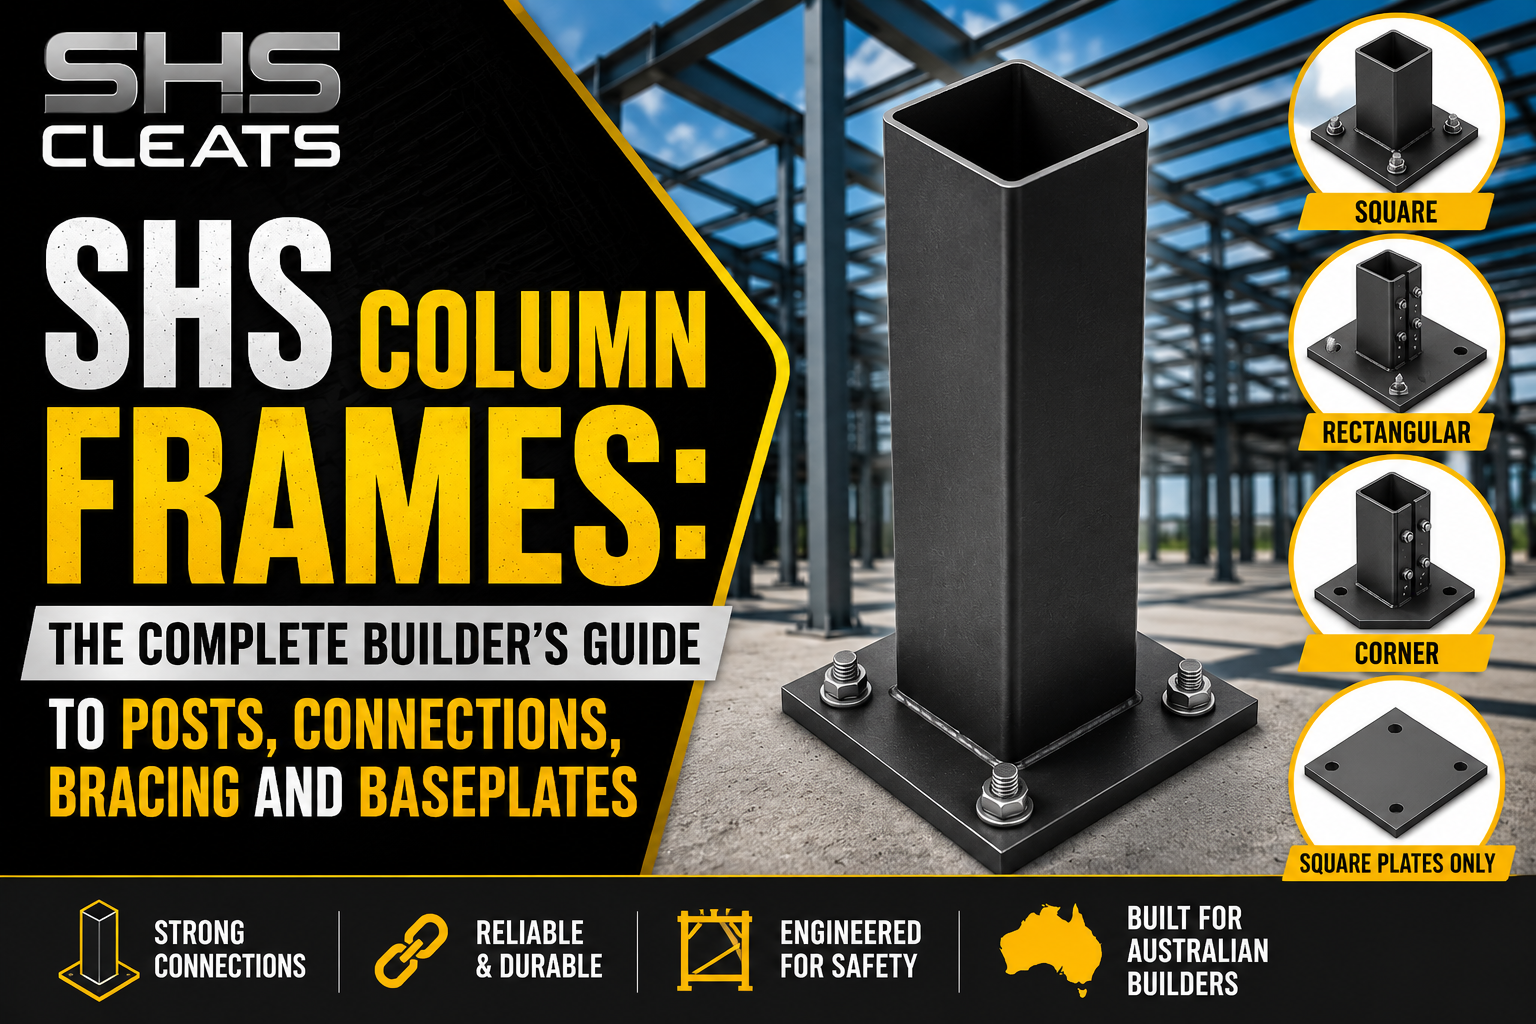
SHS column frames are the foundation of modern Australian residential and light commercial construction. Verandahs, carports, elevated decks, warehouse mezzanines, sub-floor restumping — all of these depend on SHS steel columns and the connections that hold them together. Understanding how the complete system fits together — posts, baseplates, beam connections, and bracing — is what separates a structure that performs for fifty years from one that needs remediation after the first wet season.
This is the guide that ties it all together. We cover every stage from column selection through to engineering certification, with clear guidance on the connection hardware needed at each step and how each element connects to the others.
What is an SHS column frame?
An SHS column frame is a structural system built from Square Hollow Section (SHS) steel posts, connected by horizontal beams and stabilised by diagonal bracing, with each column anchored to its foundation via a baseplate. SHS refers to steel tubes with equal width and depth — a 100×100 SHS post is 100mm wide, 100mm deep, and has a consistent wall thickness throughout.
The square profile of SHS gives equal stiffness in both horizontal directions, making it the ideal choice for vertical columns that carry loads arriving from any direction. Unlike Rectangular Hollow Sections (RHS), which are stiffer in one axis than the other, SHS columns work equally well regardless of which direction the beam connects from.
A complete SHS column frame typically includes:
- SHS columns — vertical posts carrying compression loads and resisting uplift
- Baseplates — connecting columns to concrete foundations
- Beam cleats — connecting horizontal beams to column faces
- Beams — timber or PFC steel sections spanning between columns
- Bracing — diagonal rods or angle sections stabilising the frame against lateral forces
- Top plates — where beams rest on top of columns rather than connecting to the side
Step 1 — Selecting the right SHS column size
The first and most important decision is column size. The key variables are the load the column must carry, the column’s unbraced height, the wind classification of the site, and the span between columns.
| Application | Typical SHS size | Notes |
| Lightweight pergola or shade structure | 65×65 or 75×75mm | Low load, short spans |
| Standard residential verandah | 90×90 or 100×100mm | Most common residential spec |
| Single-bay carport | 100×100mm | Standard for 3m–6m bay width |
| Double-bay or large carport | 100×100 or 125×125mm | Depends on span and wind zone |
| Elevated deck, significant span | 125×125 or 150×150mm | Tall columns may need upsizing |
| Commercial verandah or light industrial | 150×150 to 200×200mm | Engineer specification required |
These are indicative sizes only. Your structural engineer will specify the exact column size based on calculated loads, column height, and site wind classification per AS 4055. The standard structural grade for SHS columns in Australian construction is C350L0 per AS/NZS 1163 — confirm the grade with your steel supplier before purchasing.
Step 2 — Setting the baseplates
Baseplates anchor each column to its concrete foundation and must be set before columns go up. Position, height, and level are all critical — errors here cannot be corrected after columns are erected without significant rework.
Cast-in anchor bolts are preferred where the slab or pier is being poured fresh. A bolt template positions the anchor bolts at the exact spacing matching the baseplate hole pattern. The concrete is poured around the bolts; once cured, the baseplate slides over them.
Chemical anchor bolts are used when adding baseplates to existing concrete — standard in restumping and retrofit applications. Holes are drilled, cleaned, and chemical adhesive is injected before the threaded rod is inserted. Maintain a minimum 75mm clearance between the baseplate and finished ground level to prevent corrosion.
Step 3 — Connecting horizontal beams
With columns plumb and baseplates set, horizontal beams attach to the column faces using beam cleats. The cleat type depends on what the beam is made of.
For timber beams: SHS timber beam cleats
The SHS timber beam cleat slides over the outside face of the SHS column and is fastened at the correct beam height using Tri-Fixx M8 Series 500 Tek screws. The timber beam end is then positioned into the cleat pocket and fastened with additional Tek screws through pre-drilled pilot holes. The full connection is made with a standard drill — no weld, no specialist trade beyond a licensed builder.
For PFC steel channel beams: SHS PFC beam cleats
Where the horizontal beam is a Parallel Flange Channel (PFC) steel section, SHS PFC beam cleats are used. These capture the flat web face of the PFC beam and are fastened to the column face with Tek screws. PFC beams are specified when spans are too long for timber, loads exceed timber capacity, or a steel aesthetic is desired.
Step 4 — Choosing the right cleat configuration at each column
The configuration of cleat at each column depends on how many beams arrive there and from which directions. Walk your structural drawings and confirm the beam count and direction at every column:
- Corner column — two beams at 90°: use a corner cleat (left-hand or right-hand depending on orientation)
- Intermediate inline column — two beams in a straight line: use a 2-way inline cleat
- T-junction column — three beams, one straight and one at 90°: use a 3-way intermediate cleat
- End column or single connection — one beam only: use a single-sided cleat
- Beams resting on top of the column: use an SHS top plate instead of a side cleat
Getting configurations right before ordering avoids expensive re-orders and delays on site. If a column has beams connecting in two different planes — side cleats at mid-height and a top plate at the head — order both separately.
Step 5 — Bracing the frame
A frame of vertical columns and horizontal beams is stable against vertical loads but vulnerable to racking — sideways movement under lateral forces like wind. Diagonal bracing prevents this.
Rod bracing
Steel rods run diagonally across a panel of the frame, working in tension to resist lateral load. The rods connect to SHS bracing rod cleats on the column faces, with turnbuckles allowing tensioning once the frame is fully erected. Rod bracing is the most common system for residential verandahs, carports, and sub-floor frames.
Angle bracing
Steel angle sections run diagonally across the frame, working in compression. SHS steel angle bracing cleats connect them to the column faces. Angle bracing is more rigid than rod bracing and is specified for higher lateral loads — wind zones N5 and N6, communication towers, and industrial frames with large open panels.
Welded factory assembly vs on-site SHS cleats
| Factor | Factory-welded assembly | SHS sliding cleats on-site |
| On-site adjustability | None — fixed at fabrication | Full — slides to any height |
| Response to design changes | Column back to fabricator | Reposition cleat on site |
| Welder required on site | Yes (for any site welds) | No — Tek screws only |
| Lead time | 3–6 weeks typical | Order and ship within days |
| Transport | Complex — protruding brackets | Simple — plain columns |
| Beam angle flexibility | Fixed at fabrication | Full rotation available |
| Engineering certification | Project-specific only | Manufacturer cert covers all sizes |
For most Australian residential and light commercial builds, the SHS sliding cleat system is faster, cheaper, more flexible, and achieves full engineering compliance without the constraints of factory fabrication.
Engineering and certification requirements
In Australia, SHS column frames supporting structures that require a building permit must be designed and certified by a registered structural engineer. The engineering documentation will typically cover:
- Column size, grade (C350L0 per AS/NZS 1163), and wall thickness specification
- Baseplate type, size, and anchor bolt specification including minimum embedment depth
- Beam cleat type, configuration, and Tek fastening pattern at each connection
- Whether Tek-only or Tek-plus-weld connections are required based on calculated shear loads
- Bracing system specification, panel locations, and rod or angle sizes
- Site wind classification per AS 4055 (residential) or AS/NZS 1170.2 (commercial)
SHS Cleats provides engineering certification documentation for all products — beam cleats, baseplates, top plates, and bracing cleats — covering allowable shear and uplift loads across all SHS column sizes. This documentation supports your building permit application and gives your building certifier the compliance evidence needed to approve the structure.
Frequently Asked Questions
For a standard residential verandah in a low-to-moderate wind zone (N1–N3), 100×100 SHS is the most common specification for spans up to approximately 6 metres between columns. For wider spans, taller columns, or higher wind zones (N4 and above), 125×125 or 150×150 may be required. A structural engineer determines the exact size based on calculated loads.
SHS (Square Hollow Section) has equal width and depth, giving equal bending stiffness in both horizontal directions — ideal for vertical columns where loads or connections can arrive from any direction. RHS is stiffer in one axis than the other and is better suited to horizontal beams. For vertical columns, SHS is the standard choice in Australian construction.
Yes. SHS column frames are widely used in Queensland cyclonic wind zones (C2, C3, C4). The column size, baseplate anchor bolt specification, and bracing system are designed for the higher wind loads. In C2 and above, Tek-plus-weld connections may be specified rather than Tek-only. Engineering certification specific to the wind zone is required.
For most structures requiring a building permit — verandahs, carports, decks, and any elevated or commercial application — yes. SHS Cleats provides engineering certification for the connection hardware itself, but the overall frame design must be confirmed by a structural engineer for the specific project loads and site wind classification.
Hot-dip galvanised SHS columns typically last 50 years or more in standard suburban Australian environments. In coastal C3 environments (within 1km of salt water), expect 25–40 years before the zinc coating needs assessment. Steel frames consistently outlast timber equivalents in Australian outdoor conditions.
The standard structural grade for SHS columns in Australian residential and light commercial construction is C350L0 per AS/NZS 1163. This is the grade used in SHS Cleats engineering certifications. Confirm the grade with your steel supplier — not all hollow sections are structural grade, and substituting a lower grade will compromise the connection certification.
Building with SHS columns? SHS Cleats supplies the complete connection system — timber beam cleats, PFC beam cleats, baseplates, top plates, and bracing cleats — for every SHS column size from 65×65 to 200×200mm. All products are hot-dip galvanised, engineering certified, and available for same-week dispatch. View the complete SHS cleat range at shscleats.com.au →
